How To Fix A Roof Leak In Your RV
Leaky RV roofs are an unfortunate, but common problem. When disregarded, they can cause a lot of damage to your RV and other possessions. Thankfully, fixing them is quite simple. Here’s how to fix a roof leak in your RV
Find The Source Of The Leak
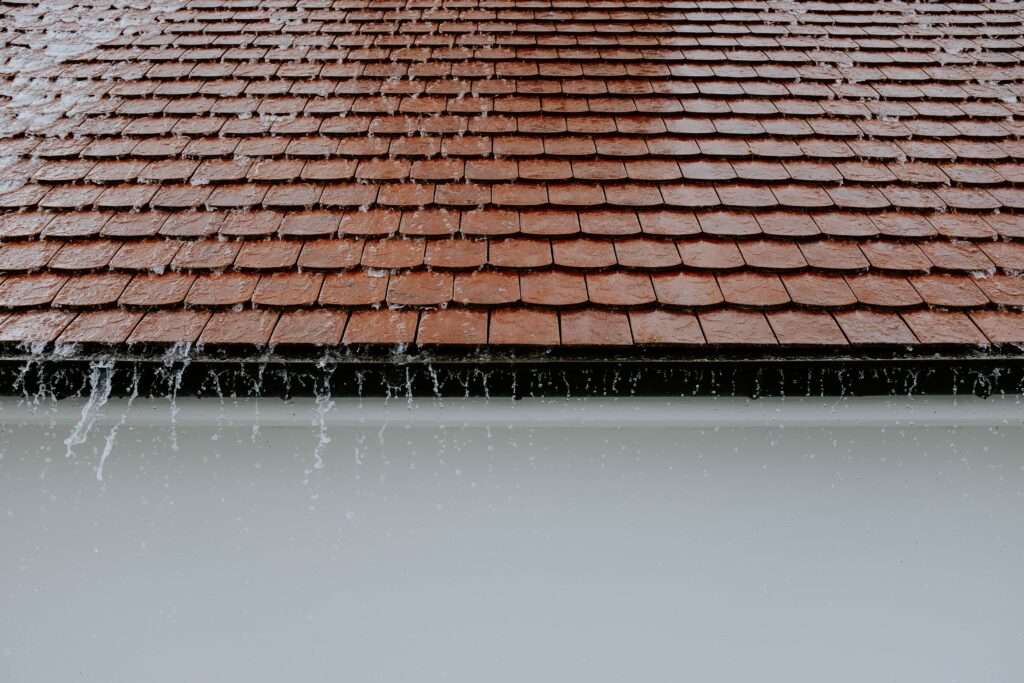
The first thing you’ll want to do is locate the source of the leak. Depending on the leak’s location, your solution may be different. Most leaks are on the roof, so start there.
To locate a leak on your RV’s roof, grab a ladder. Some RV’s are built to withstand your weight on top. These typically come with a ladder attached to the back or side to allow you to climb up. Some RVs, however, are not made to sustain much weight. If in doubt, refer to your manual. If your RV’s roof is too weak, grab a safety ladder and climb up next to your RV.
Once you have a clear visual of the roof, inspect it for noticeable cracks or holes. If you’re having a hard time, pay close attention to the areas around HVAC units or other roof-mounted accessories. The seals around these mounts tend to dry out and crack causing leaks into the RV’s interior.
Another way to isolate your leak is to go inside the RV and look for any water damage or dark spots. Some leaks start inside the walls and drip down. So pay attention to the ceiling, walls, and floors.
Note: be proactive and inspect your RV for noticeable leaks or cracks at least twice a year. Once at the start of the season, and again when the season is over. This routine inspection can help you identify problems before they become unmanageable.
Apply A Temporary Fix
Once you’ve located your leak, it’s time to address the issue. You may consider applying a temporary fix at first if you don’t have the time or money for anything permanent. This is fine. There are several great temporary solutions to RV roof leaks, and any of them could serve you well.
One of the best temporary solutions to an RV roof leak is a rubber patch. This works especially well when the source of the leak is an obvious crack or hole in the roof of your RV. Simply stick the patch over the hole to keep water from getting through.
Another great solution is to tie a tarp down over your roof. This works better if you’re having a hard time isolating the leak, or if the crack is bigger than a rubber patch could cover. This will protect your whole roof from the elements until you have a chance to apply a permanent fix.
Apply A Permanent Fix
Before applying a permanent fix, be sure to disassemble any part of your roof or wall that needs to be dried out. Leaving any water inside your RV’s frame can lead to mold and mildew which could greatly affect your health.
Once everything is dried, you can address the leak. Depending on your RV’s roof material, you’ll need to address the leak differently. For instance, a popup canvas roof can be sewn together, whereas a fiberglass roof will need to be resealed or replaced depending on the severity of the issue. Here’s a list of roof materials.
- Popup Canvas
- Fiberglass
- Aluminum
- Vinyl
- Plastic
- Wood
- Rubber
Each roof type may need to be addressed differently, but most can be fixed by resealing the damaged area. Research your specific material to identify the best solution.
How Can We Help?
RV Awnings specializes in making awning replacement fabric of the highest standard and offers a variety of options. If you have any further questions or would like to order awning replacement fabric, call us today.