Installation Guide
How to Install Replacement Awning Fabric
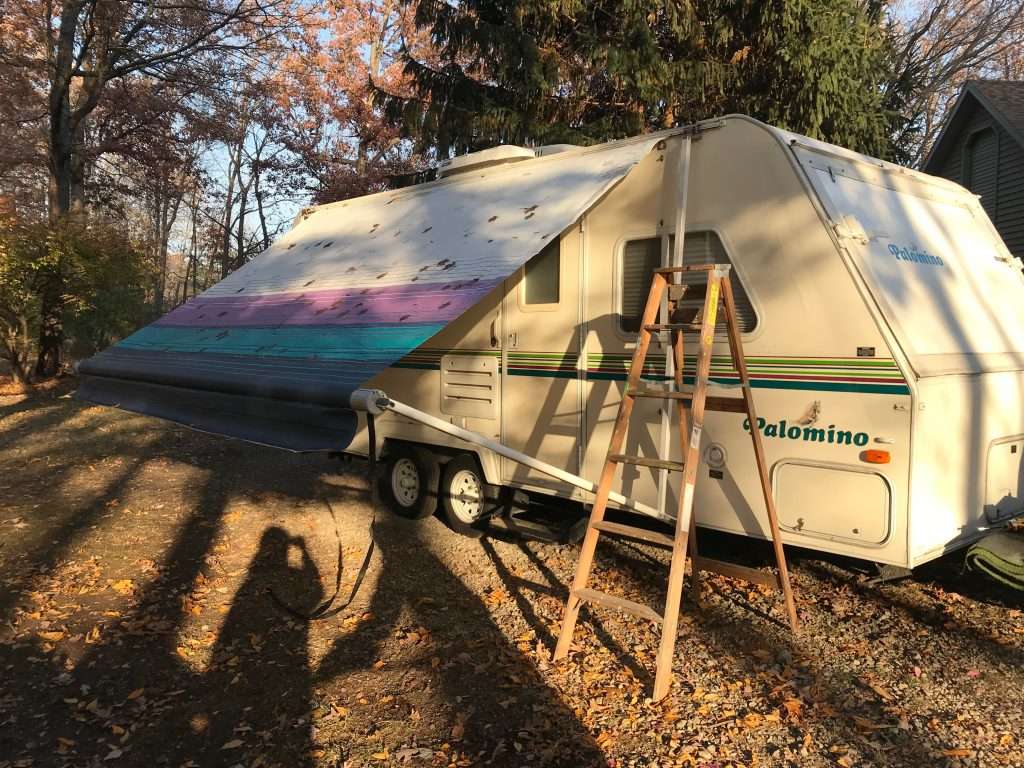
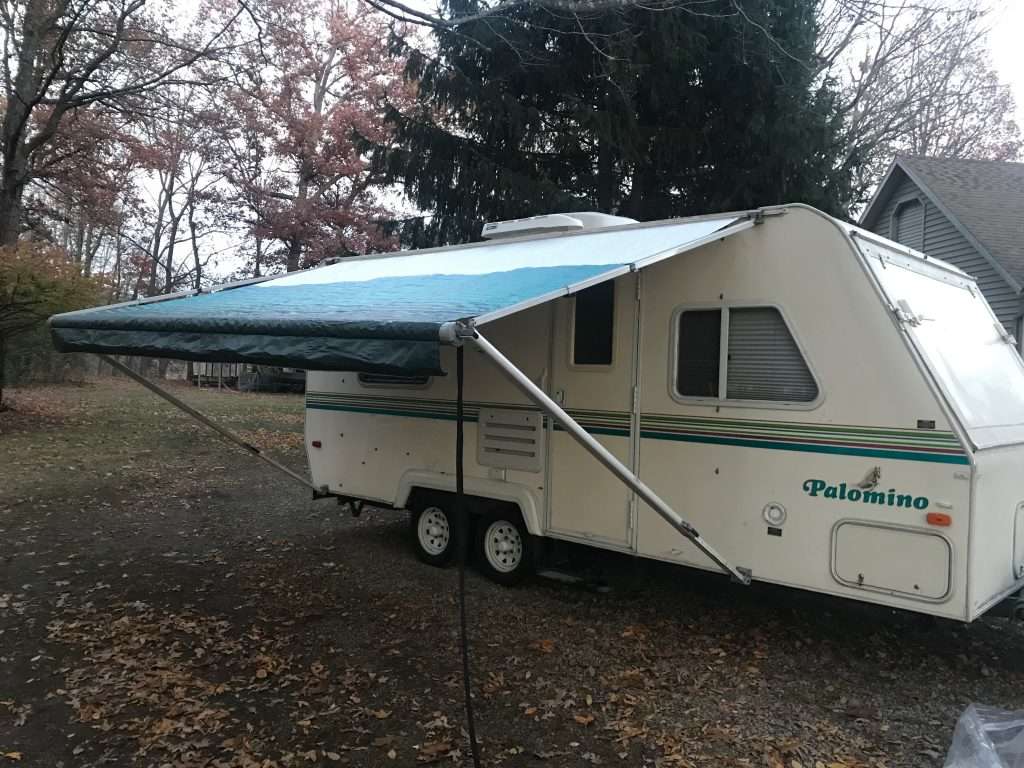
Replacing a worn RV awning with new awning replacement fabric is now even easier with this smarter, faster way. There is no need to mess with the spring or to drill out rivets. Just follow the directions below.
Remove the Old Awning
The first thing you need to do is gather the tools needed for the job. When installing an awning you’ll need a strong pair of work gloves, silicone spray, a flat head screwdriver, a power drill, a tape measure, and a stepladder. We recommend purchasing an inexpensive awning installation tool to make things even easier.
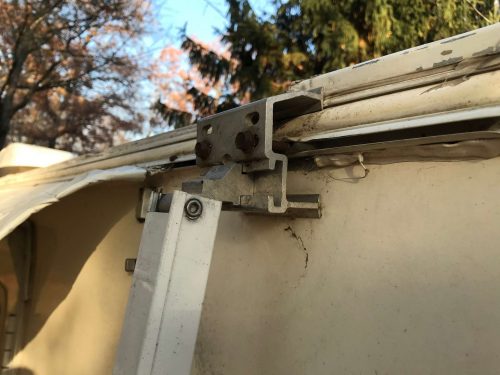
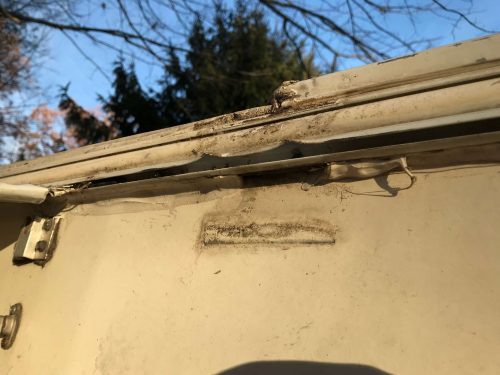
- To remove the old fabric, extend down your awning and unscrew the awning support on the right. Save the screws for reinstallation. Inspect the awning bracket for damage. If the bracket needs to be replaced, you can find it here:
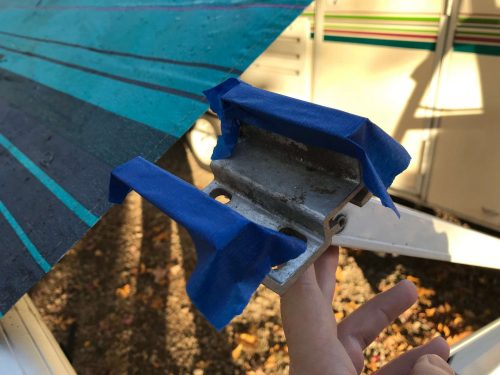
- Apply painter’s tape to all the sharp edges of the support to prevent any scraping or cutting of your new awning when it’s installed.
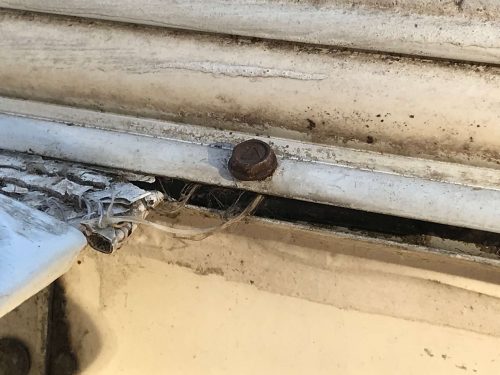
- Remove the small screws that lock the awning fabric in place.. They are located on both the left and right sides of the awning. Save the screws.
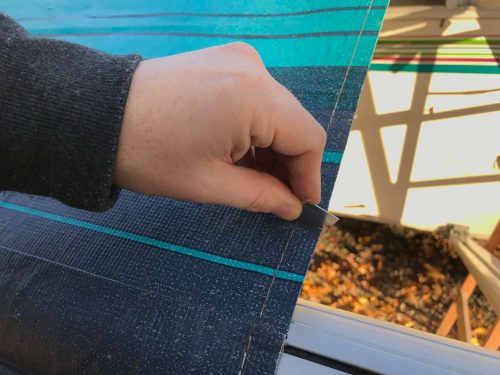
- Now it’s time to remove the worn fabric. Cut the old awning in half somewhere above the roller.
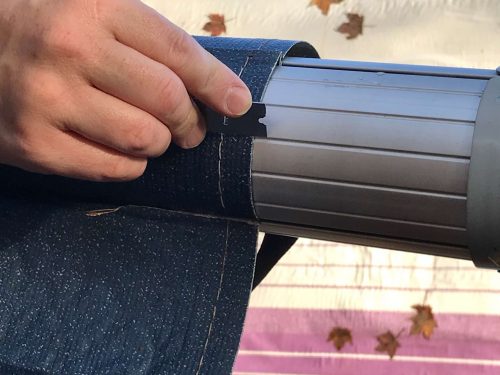
- Once you’ve made the first cut, you will need to make another all the way down the roller in one of the groves. Make sure it is between the two points where the awning fabric is connected to the roller. This makes it easy to pull off both pieces separately.
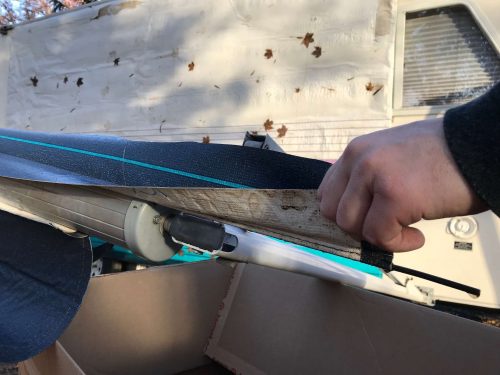
- Pull out the piece that already has a slot on the end cap. It will come right out. The other piece of the fabric does not have a slot at the end cap.
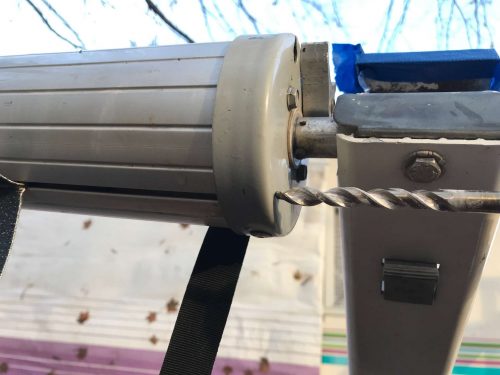
- You will need to drill a hole at the end that lines up with the slot, then using a hacksaw or Dremel cut a slot from the new hole to create a new slot that the remaining awning piece can slide out of easily.
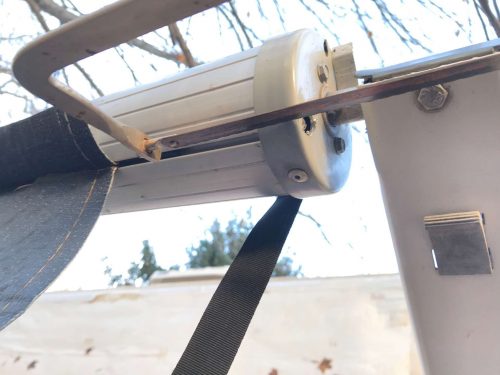
- This new slot will also be used to slide the new awning fabric on. Make the new hole in slot smooth to the touch so that there are no birds or sharp edges that may cut the new awning fabric.
Note: Other tutorials will have you drill out the rivets in the end cap and put vice grips on the shaft that comes out of the end cap. You then have to manually unwind the spring inside and pull out the spring assembly. That method requires you to put new rivets back in and put the whole assembly back together. Our method of drilling a new slot makes it much easier to replace the awning this time and in the future.
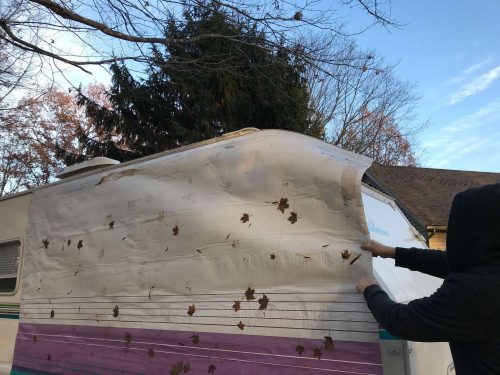
- Pull the larger piece to the right so it slides right out the guide that’s near the roof.
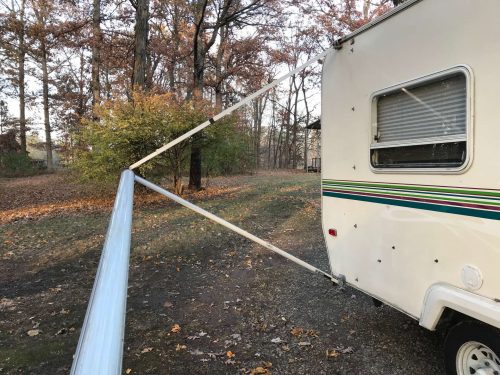
- You will not need to remove any other awning supports.
Install the Awning Replacement Fabric
Once the old awning cover has been removed, you can easily install your replacement fabric just by following these simple steps.
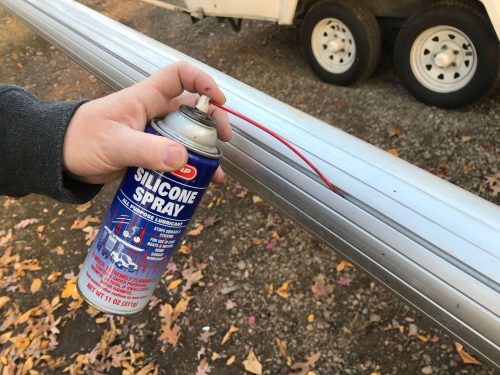
- To make the new awning glide on easier, apply a silicone spray in the grooves or baby oil. Do this to the two grooves on the roller and the upper groove or guide near the roof.
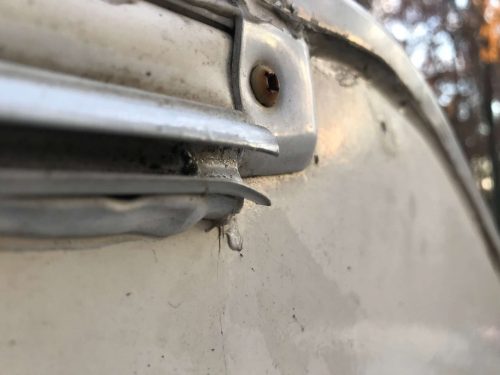
- You can see you that the groove or guide on the roof flares down a bit.
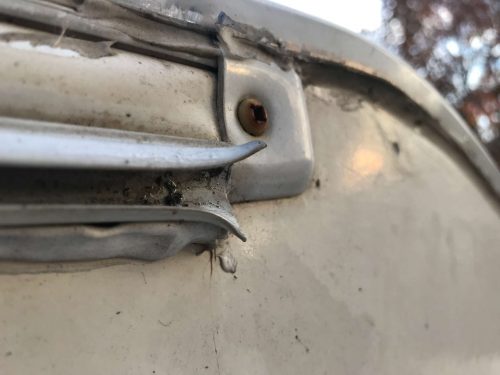
- However, the top edge can still catch on the new fabric, so use a screwdriver to flare it open.
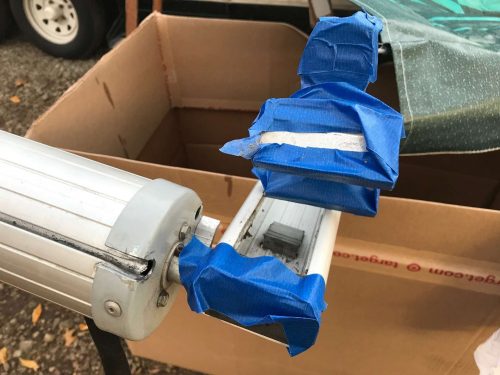
- Again, make sure you have any sharp edges. If you do, cover them with painters tape.
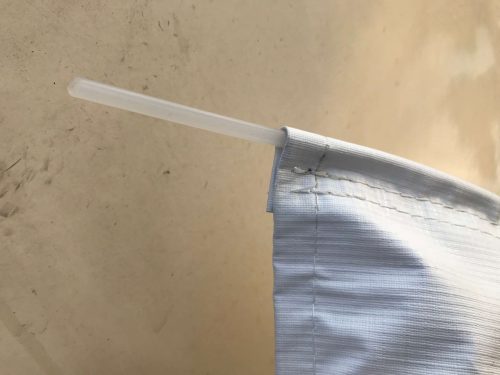
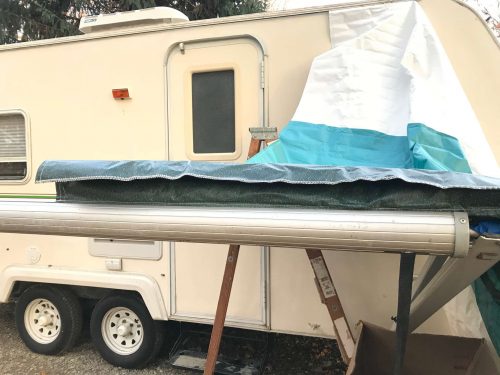
- Make sure the new awning fabric is oriented properly and start sliding the plastic piece into the upper groove. Keep the awning fabric straight. You will only be able to insert the new awning fabric 12 inches - 18 inches before you will need to descend the ladder and guide the fabric into the new slot you made in the roller.
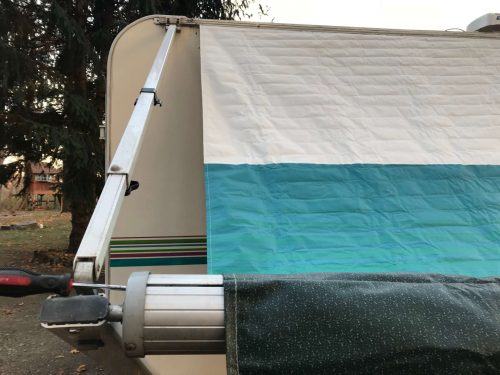
- Keep working your replacement fabric back and forth until it is completely on and in the middle of the roller. Make sure the fabric on the roof is perfectly aligned with the roller.
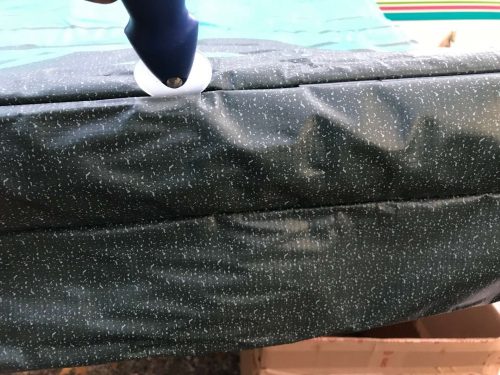
- You will notice that there is another slot in the roller and also a separate piece of plastic cording.You will need to fold the awning into that second slot. To make things easier, we sell an Installation Tool that will help. You can get that here:
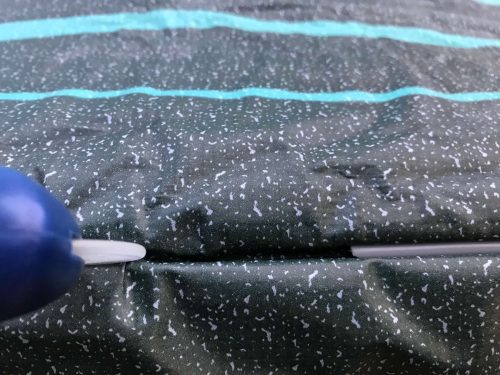
- Once you get the fabric folded into the groove on the right side of the roller, put the plastic cord into the groove on top of the fabric so it will act as a second attachment point. Put baby oil in the groove all the way down and continue folding the fabric. Pull the plastic cord all the way down until he gets to the end.
Note: It may be possible to use a needle nose pliers to grab the end of the cord and pull it through the slot rather than have to push it through from the right and. Cut off any extra cord on either end.
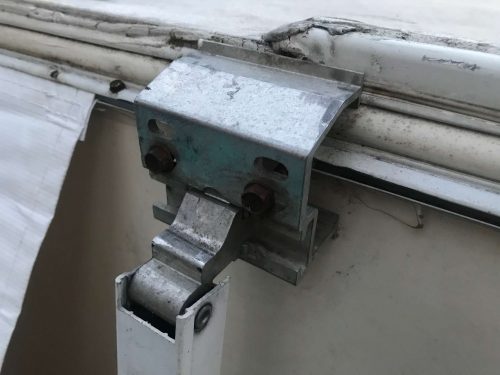
- Climb back up on the ladder and put the locking screws back in on both sides of the awning fabric.
- Put some fresh silicone sealant into the holes that the large screws came out of and screw the upper right awning support back using the same holes. The package comes with a new pull strap. To replace your existing pollster app– simply a locate where it's connected to the roller and slide it down to the other end and out of the slot in the roller. Slide your new pull strap back in the same way.
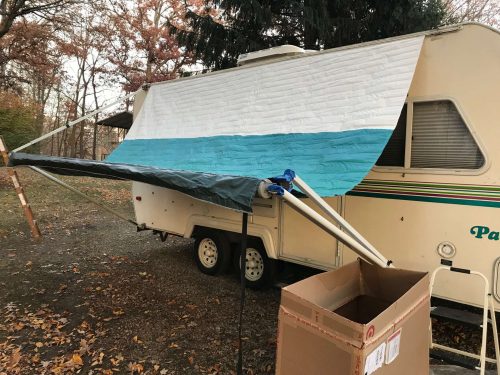
Congratulations!
You have now completed the installation of your new awning fabric.
